Pages

Featured Post

Dude...That's Me

I know what you're probably thinking...dude just ripped off Aerosmith.  And then you thought, "Hey, a guy isn't allowed to sew ...

Tuesday, July 18, 2017

The Cape Cod Shirt

So my mom was rummaging through all of her old fabrics and found some really neat stuff.  She should have never shown me this stuff.  I started to drool and got this funny look on my face.  I just couldn't wait to get my hands on it.  No really, I didn't wait...

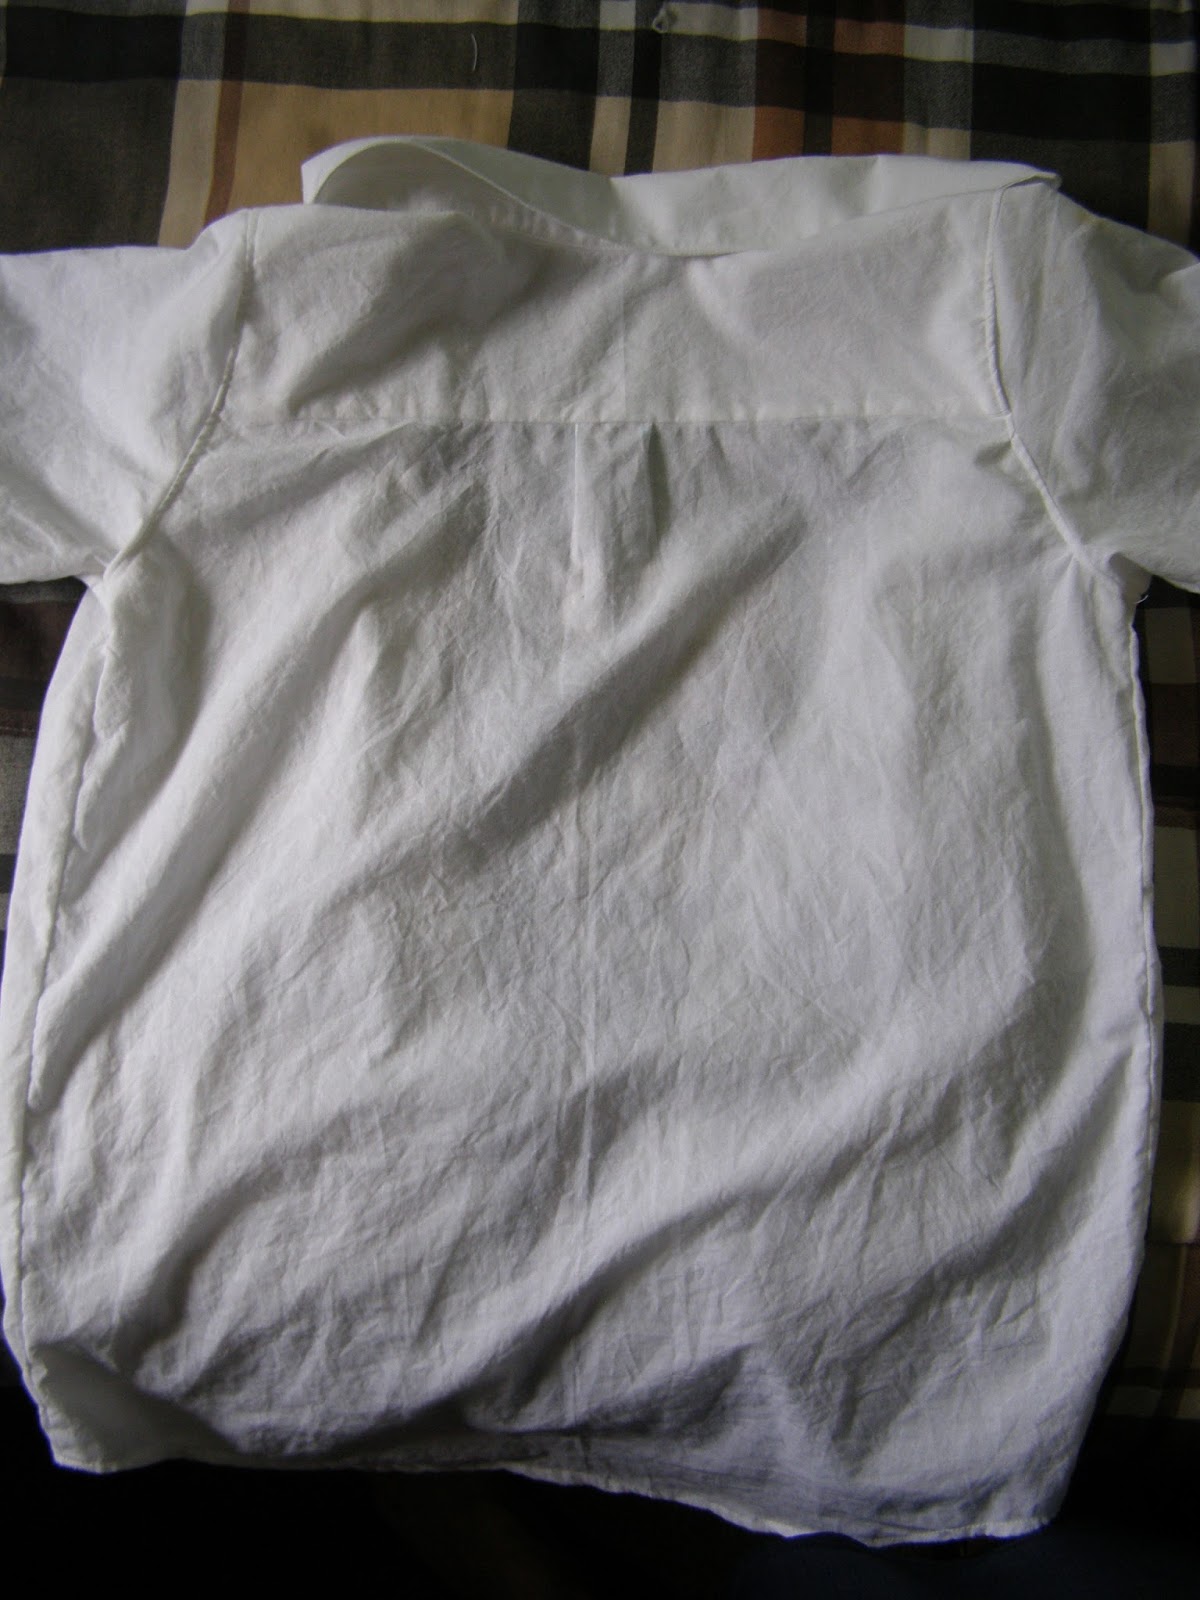
I'm kind of an air plane junkie.  So this cotton print caught my eye right from the start.  I wanted to make myself a shirt out of it, but there was only about a yard and a quarter of fabric.  Looking through the few patterns I have in my collection, the Cape Cod Shirt by Peek-A-Boo Pattern Shop was one that I had not gotten the chance to sew.  This pattern was a great fit for the fabric.

One of these days I'll have a little dude of my own to sew cool-ass shirts for, but until then, you will just have to settle for finished product pictures without someone to model it off.

 One of my favorite features of this pattern is the rolled up sleeves.  How cool is that?  I decided to use clear buttons so that if you decide to go with the sleeves down, the button doesn't stick out too much.

And of course, the back is pleated and has a yoke, which looks very good.

Wish I had more of this fabric, but all that was left were some small strips and pieces.  I'll hold on to them just in case I run across anything cool to use it with.  Stoked to see what else mom pulls from the fabric time capsule!

Thursday, July 13, 2017

A Mighty Morphin Pillow

So my mom was digging through her old fabric and sewing things, and found this awesome pillow panel.  It's an original, 1994 Mighty Morphin Power Rangers pillow panel.  I was so excited when she showed me.  When I was a kid, I was a Power Rangers junkie.  If it had the Power Rangers on it, I wanted it.  T-shirts, lunch boxes, book bags, underwear, toys...anything.  The TV show was my absolute favorite, so much so that I would race home from school on my bike just to be able to catch it when it came on.  Me and my friends would play Power Rangers, I would literally dream about it.  There was nothing more I wanted in my hugely imaginative kid brain than to be a Power Ranger.


So, I did what anyone else would have done.  I made the pillow.  Very simple, obviously, but hugely satisfying to make.  Still on the fence about whether or not I want to keep it for myself or try and sell it.  We'll see what happens!  Talk about a throwback.

Saturday, July 1, 2017

A Birthday Present

I picked up a pattern to make some aprons, and this is my first run at it.  The pattern was very...involved I guess.  There was just a lot of little things to do to it that I never really gave much thought to.  But hey, those details are what make the apron so pretty and it turned out really well.

I'm not sure if it is acceptable to make the pockets run in a different direction than the main material.  However, I'm going to use my creative license card to get away with it.  I just like the contrast and personally I think it works just fine.  Did you see what I just did there?  I broke outside that little glass box that people like to stay safely tucked inside of!

So this apron is going to be a birthday gift for a friend of mine that I work with.  He is a cook at the restaurant that I work at so I figured an apron would be a fitting gift.  Not to mention, nothing says happy birthday like a hand-made gift.

The pattern was by McCall's (M9269) and comes in an adult and child size along with a pattern for oven mitts in both sizes.  I think I'm going to have some fun with these aprons.  Let's face it, there are an infinite number of ways to make these customizable with fabrics, iron-on designs, monographs, etc.  The fabric was from Wal-Mart, where you can easily find the pattern as well.

Thursday, June 22, 2017

T-Shirts are Tough

So I just finished my first t-shirt and I have to be honest with you...I wanted to set it on fire so many times and just be done with it.  But I kept charging on, mistakes and all.  I only had two yards of this black jersey knit fabric, which means I only had one shot at this shirt.  There was no way I was going to quit and just waste this material.

I'm not going to lie...it did not come out very well.  Chalk this one up to a learning experience.  The next time I make this, it's going to rock out.  The pattern was not very hard to follow.  In fact, it was kind of super simple.  What was getting me was the dang fabric.  This stuff has a pretty good stretch to it and it LOVES to roll up at the edges, making sewing a seam an exercise in patience. 

At the base of the placket, you might notice that it puckers a little bit.  The collar is a little rough and my right shoulder...well, if you have a good eye, you can tell that the seam on my right shoulder is inside out.  That's right, I'll admit it...I sewed it on the wrong side.  This mostly happened because I was already frustrated with the darn thing and was just not paying attention.  So, this is going to be a shirt for me to wear, probably to the barn! 

I love this fabric though.  Jersey knit is so soft and comfortable.  I have some more jersey in a gray color.  I'm not really sure if I want to try and make another one of these t-shirts or make a tank top with it or another polo.  I can tell you this though, whatever I do next, you will see it right up on here.  Everything from the perfect sewing project to my Frankenstein t-shirts!

Tuesday, June 6, 2017

A Nifty Little Tablet Cover

So for Mother's Day, my dad bought my mom a tablet to help her keep track of her business stuff.  It's handy for quickly checking emails and scheduled events in her calendar.  He neglected to get a screen protector or cover for it.  The way things are around our house, this was just begging for problems.  Stuff just gets set on the table...sometimes on top of other things.  I could just see this beautiful new tablet getting crushed by a bucket full of fresh chicken eggs.  So, I made her a tablet cover.

I'm going to be honest...this was more of a chore to make than I thought it was going to be.  That was mostly due to the fact that I had to quilt the fabric myself.  I found this really cool horse print cotton at Wal-Mart that I knew mom would love.  So I found some brown material that went with it and got some batting.  I figured, sewing two pieces of fabric together with a layer of batting in the middle can't the THAT hard, right?  Well, I was wrong.  It was way more cumbersome than I thought it would be.  This was my first foray into quilting and though I get the concept of it, implementation was a little bit tricky.

The end product looks great though and mom loves it.  There is a spot on the back (which I didn't take a photo of because it would ruin the illusion of perfection...) where I messed up sewing the bias tape on.  Lesson learned.  Other than that, it was awesome.  There is a zipper pouch on the front for her charger, headphones and stylus.  Thanks to So Sew Easy for the tutorial.  This was so much fun and I hope to make a few more to sell soon.

Tuesday, May 23, 2017

Taking Orders!

My online store is up and running. Check out what I have for sale. Click on the link at the top of the home page that says "Store". Currently, I only have my Nap Time Mat up for sale. However, I plan on adding more items as I am able. Please subscribe to my blog for updates emailed to your inbox. We will never abuse your email address and you can unsubscribe at any time.

Nap Time Mat!

For Mother's Day, I decided to make a nap mat for my sister and my niece. It was actually pretty simple to make once I figured out how I wanted to do it. I found this adorable flannel print at Wal-Mart that was just so soft and perfect for the outer cover. The attached blanket is super soft to the touch.

I made some changes to the original pattern idea. Instead of using quilting batting for the padding, I found a roll of one inch foam that ended up being perfect. It was much easier to work with and it was way softer and more supportive. The length is shorter and I made a smaller pillow. The next ones I make will be about 40 inches for the sleeping part and a full 12 inches for the pillow. This should be plenty of room for a child to sleep on (over three feet long) and the pillow part will be much larger (I think this one I made was about 7 inches).

Credit to prettyprudent.com for the original idea for the nap mat.


I have started taking orders if there is anyone interested in a nap mat of their own.  Click the link at the top of the page that says "Store".


Monday, May 15, 2017

New Fabric!

Can't wait to start working on some more projects with this super-sweet fabric that I picked up today:


Tuesday, May 2, 2017

A Stylish Polo

I thought that my second project would go a little bit easier, and in a way, it did.  But in many other ways, it didn't.  Mad props to Peak-A-Boo Pattern Shop for this really dope Classic Polo pattern


Construction wise, this was way easier than the Oxford.  Less parts to put together and the placket was surprisingly intuitive.  I thought that was going to be the hardest thing for me, but it really wasn't.  The collar gave me some problems, where my fabric pinched a little bit in a couple of places where the body and collar attach but the collar hides it.  The first sleeve I put on was a little shaky but the second one went on beautifully and I think I'm getting the hang of things.

Confession time...I initially sewed the button holes on the wrong side of the placket.  I'm just so glad I realized what I did before actually cutting the holes.  It took me forever and a day to pick the stitches out with a seam ripper.  Thankfully, I had bought large buttons for the little bit I was not able to get, in fear of ripping my fabric, is hidden.

Working with a jersey knit was kind of a pain in the butt.  When you cut that stuff, it likes to roll in on itself, making sewing a hem a nightmare.  When it came time to sew together my body and sleeves on the inside seam, I wanted to set that thing on fire and be done with it.  I even tried ironing it flat, but no amount of coaxing would work.  I was so frustrated with it that I just sewed things up as best I could.  And the hem on the bottom is atrocious.  I am very embarrassed at the job I did on it, but I had had enough at that point.  I ran out of bobbin thread about six inches from finishing that hem and wanted to punt my machine out the window.

What adventures...I definitely got some major experience on this little project.  The only sad part for me is...that it doesn't fit me.  It is a child's pattern so obviously I can't fit in it.  I really love these colors and want one for myself.  Maybe I can find a polo pattern for men and give it another go!

Fabric and buttons were from Hobby Lobby - jersey knit in aqua and white.  They were both $6.99 per yard.  The buttons were on sale for like $0.90.
 
The Finished Polo

Thursday, April 27, 2017

First Shirt - The Classic Oxford

Well, here it is, my first shirt.  What a way to jump right back into sewing after not having done anything since the spring of 2015.  I've got to say, I really like this pattern.  It took me a lot longer than I thought, but that was mostly because I was going slowly so I didn't mess up.  Once I got everything figured out, it came along quite nicely.  My next Oxford will be a lot easier and quicker!  I don't have anyone to wear it yet to see how it fits, but as I'm able to I will post some photos of it being worn.  The collar and yoke were probably the toughest parts for me, since I never really had experience with either.  Let me know what you think!


Thanks to Peak-A-Boo Pattern Shop for this awesome pattern (Classic Oxford Button-Up)

Dude...That's Me

I know what you're probably thinking...dude just ripped off Aerosmith.  And then you thought, "Hey, a guy isn't allowed to sew and if he does, he is definitely not allowed to tell anyone else that he sews."  Well, you are correct on both accounts.  I think Steven Tyler is use to being ripped off by now so I doubt his lawyers will come after me.  And as far as a guy admitting to sewing...well, you'll get use to the idea.

Let me tell you a little bit about myself.  I'm a cook at a restaurant...or more accurately, I'm kitchen slave labor.  I went to college for computer science, but I never graduated.  I'm straight (come on, you know you wanted some clarity there), single with no children but I do have a little niece (she's gonna love all the girly crap I make for her...my sister, probably not so much).  I learned to sew a few years back and since times are tough and budgets are tight, I decided to use my old skills to help with a little bit of extra income. 

That's the truth, there's no way around it.  I'm not a stay at home dad with kids that grow like weeds who wants to make clothing on the cheap.  This isn't a hobby I love dearly with my whole heart.  I don't plan on giving much of my stuff away unless I find a special cause.  I do think it's cool as crap the kinds of things that are out there to make, and I suppose that's the side of things that I'm really interested in.

Why did I start this blog then?  Well, the narcissistic side of me says I want to show off all the cool crap I make.  That's kind of true.  I want to document my growth through all of this, because there are a lot of things that I don't know and plenty of skills to hone.  But I also want to make some friends, engage in conversations, share ideas and mostly, LEARN.

I hope you will subscribe to my blog.  I like to keep things light and entertaining.  I hope that you will not just be a silent peruser.  I'm on Google Hangouts and love to chat.